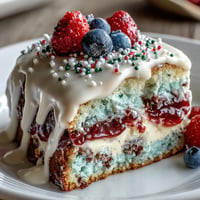
 Pin It
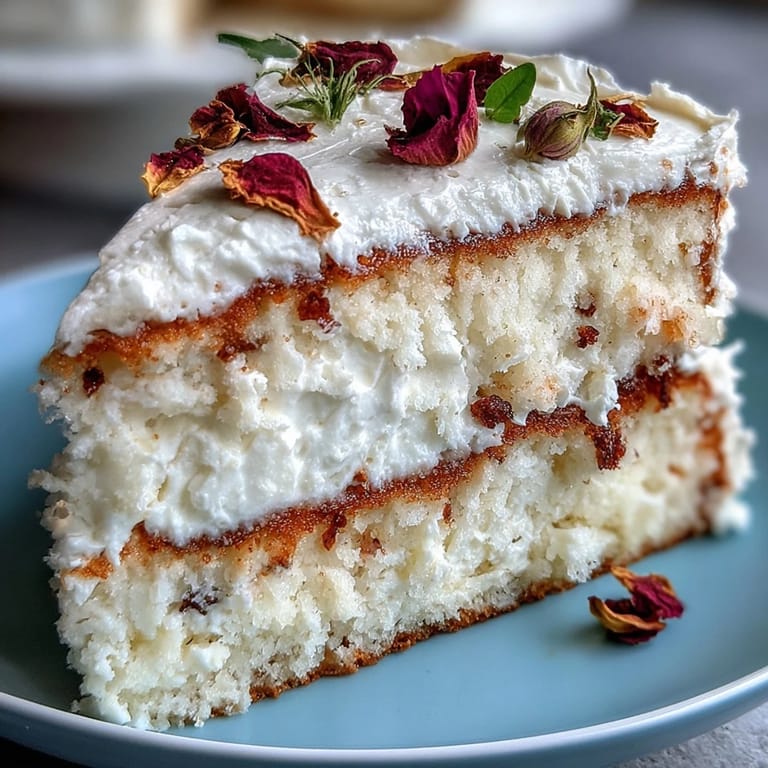
 The first time I decorated a cake with gold leaf, my hands were shaking so much I thought I'd ruin it—but something magical happened when that delicate shimmer caught the light. My friend's graduation party was that afternoon, and watching her face light up when she saw the floral arrangement made every nervous minute worth it. That's when I realized this cake isn't just about vanilla sponge and buttercream; it's about marking a moment that deserves to look as extraordinary as it feels. Since then, I've learned that creating something beautiful doesn't require professional training, just a little patience and the willingness to trust the process.
I made this for my cousin's graduation last summer, and honestly, the decorating part became a whole event—her younger siblings wanted to help paint on the gold leaf, and we ended up laughing at how seriously we were treating it. Someone put on celebratory music, and by the time we finished, the kitchen felt like a party itself. That cake became the centerpiece of the night, and people kept photographing it before they even cut into it. It reminded me that sometimes the most memorable part of a celebration is the care you put into making it special.
Ingredients
- All-purpose flour (2 1/2 cups): The foundation of a tender crumb—I've learned that measuring by weight rather than volume eliminates the packed-flour problem that can make cakes dense.
- Baking powder (2 1/2 tsp): This is your lift and lightness, and using fresh powder (check the date!) makes a visible difference in how the cake rises.
- Unsalted butter (1 cup plus 1 1/2 cups): Room temperature is non-negotiable here—cold butter won't cream properly and you'll end up with a gritty texture instead of that cloud-like crumb.
- Granulated sugar (2 cups plus 1 1/4 cups): The sugar in the buttercream is heated to 160°F for food safety when using raw egg whites, so don't skip that step or reduce the temperature.
- Large eggs (4 whole, plus 5 egg whites): Room temperature eggs emulsify better and create a smoother batter—I leave mine on the counter for 30 minutes before baking.
- Vanilla extract (1 tbsp plus 2 tsp): Pure vanilla makes a noticeable difference in flavor depth compared to imitation, especially in something this elegant.
- Whole milk (1 cup): The liquid keeps the cake moist without being dense, and alternating it with flour prevents overmixing the gluten.
- Edible flowers: Source these from reputable suppliers or farmers who grow them pesticide-free—never use florist flowers or garden flowers unless you're 100% certain they're safe.
- Edible gold leaf: Those delicate sheets need a gentle touch and a steady hand, but the shimmer they create is absolutely worth the care.
Tired of Takeout? 🥡
Get 10 meals you can make faster than delivery arrives. Seriously.
One email. No spam. Unsubscribe anytime.
Instructions
- Set up your station:
- Preheat the oven to 350°F and prepare three 8-inch pans with grease and parchment—this small step prevents the frustration of cakes sticking and breaking. Let all your ingredients come to room temperature while the oven preheats.
- Build the dry mixture:
- Whisk flour, baking powder, and salt together in a medium bowl and set it aside. This ensures the leavening is evenly distributed, which is the secret to that even rise.
- Cream the butter and sugar:
- Beat them together for about 3 minutes until the mixture looks pale, fluffy, and almost mousse-like. You're incorporating air here, which becomes structure as the cake bakes.
- Bring in the eggs:
- Add each egg one at a time, beating well after each addition so they emulsify into the butter mixture. The batter might look separated at first, but keep beating and it'll come back together beautifully.
- Flavor it:
- Mix in your vanilla extract until you can smell it throughout the batter.
- Alternate and combine:
- Start with the flour mixture, then milk, then flour, then milk, ending with flour—this prevents the batter from becoming too thin or too dense. Stir just until you don't see dry streaks; overmixing develops gluten and toughens the cake.
- Fill the pans:
- Divide the batter evenly among the three prepared pans and smooth the tops with a spatula. I like to tap the pans once on the counter to release any air bubbles.
- Bake until golden:
- Bake for 28 to 32 minutes, watching for the edges to pull away slightly from the pan and a toothpick to come out clean. The kitchen will smell absolutely incredible—that's how you know you're close.
- Cool with patience:
- Let the cakes rest in the pans for 10 minutes (this helps them set), then turn them out onto wire racks. Letting them cool completely before decorating prevents the buttercream from melting.
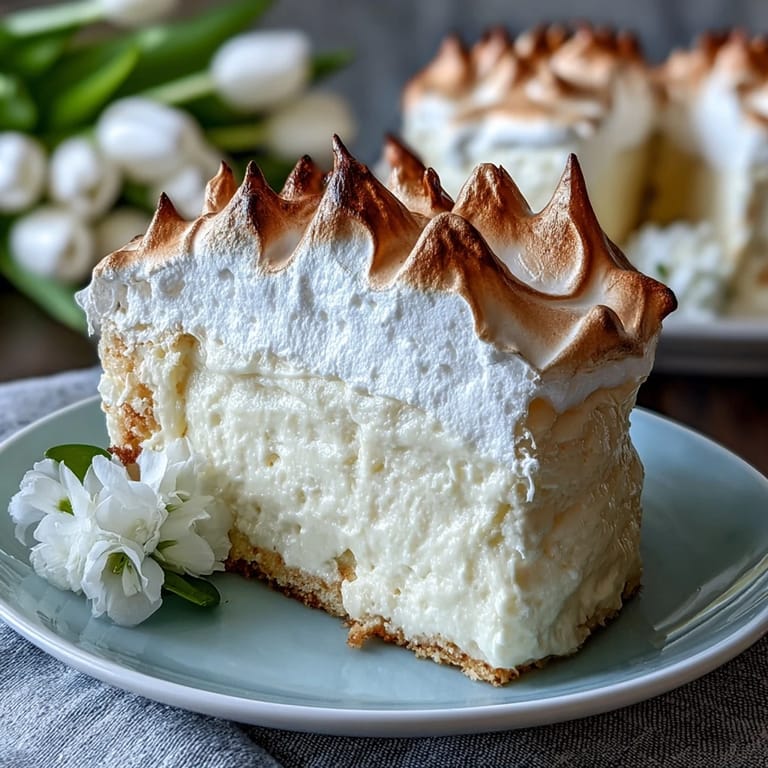
- Make the Swiss meringue:
- Combine egg whites and sugar in a heatproof bowl set over simmering water, whisking constantly until the sugar dissolves and the mixture reaches 160°F. This temperature pasteurizes the eggs, making them safe to eat raw in the buttercream.
- Whip to stiff peaks:
- Transfer the warm mixture to a stand mixer and beat on high for 8 to 10 minutes until stiff peaks form and the bowl feels cool to the touch. The transformation from liquid to cloud-like foam is genuinely satisfying to watch.
- Add the butter:
- Reduce the speed to medium and add butter a few cubes at a time, letting each addition incorporate before adding more. If the mixture looks curdled or broken at any point, keep beating—it will come together.
- Season and finish:
- Stir in vanilla extract and a pinch of salt, tasting as you go to make sure the flavor is balanced.
- Stack and coat:
- Place one cooled cake layer on your serving plate, spread with a generous layer of buttercream, and repeat with the remaining layers. Apply a thin crumb coat (just enough to trap any loose crumbs), chill for 20 minutes, then finish with a smooth, final layer.
- Apply the gold leaf:
- Using a food-safe paintbrush, carefully lay down edible gold leaf sheets on sections of the cake where you want that shimmer. Work gently so the delicate sheets don't tear, and the result will look intentional and elegant.
- Arrange the flowers:
- Place your edible flowers decoratively around the cake—I like to scatter them in clusters rather than spacing them evenly, which feels more natural and artistic.
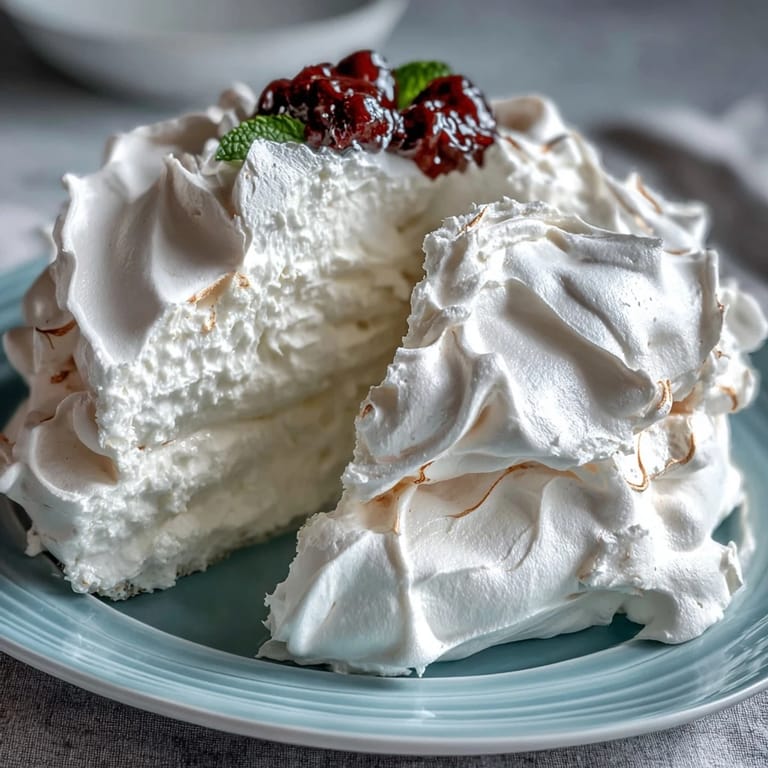
 Pin It
 There was a moment during my cousin's celebration when her grandmother looked at the cake for a long time without saying anything, and then she just smiled and said it was too pretty to eat. Of course we ate it anyway, and the vanilla was so tender and the buttercream so smooth that everyone understood why the decoration mattered—because beauty and taste worked together to make the moment unforgettable.
Understanding Edible Flowers
Not all flowers are safe to eat, and florist flowers are almost always treated with chemicals you definitely don't want on food. I learned this the hard way by assuming any pretty bloom from a garden would work, until someone mentioned pesticides and I immediately panicked. Now I source edible flowers from specialty food suppliers or farmers' markets where I can ask directly about growing practices. Pansies, violets, and roses are gorgeous and genuinely safe when sourced correctly, and they add a delicate, slightly sweet flavor that complements vanilla beautifully.
Timing Your Decorating
The hardest part about making this cake isn't the baking—it's the patience required to let everything cool properly before decorating. I've tried to rush this step, and I've paid the price with buttercream sliding off warm cake layers. Now I bake the cakes the day before, store them in an airtight container, and decorate the next day when I'm calm and the cake is cold. The buttercream can be made a day ahead too, stored in the fridge and brought back to room temperature when you need it. This strategy also means less stress on the actual celebration day.
Storage and Serving Suggestions
This cake can sit at room temperature for up to eight hours if your kitchen isn't too warm, which is perfect for parties and celebrations. If you need to make it earlier, refrigerate it and pull it out about an hour before serving so the buttercream softens slightly and the flavors come through. The Swiss meringue buttercream is stable enough that you don't have to worry about it melting, even if the cake is sitting out while people are celebrating around it.
- Store any leftover cake covered in the fridge for up to three days, though the buttercream will firm up—slice generously and enjoy it cold or at room temperature.
- If you're making this for someone with dietary restrictions, the vanilla cake base works beautifully with dairy-free buttercream alternatives made with coconut oil or vegan butter.
- Pair this with sparkling wine or a light fruit punch to keep the celebratory feeling elegant and refreshing.
 Pin It
 Making this cake taught me that sometimes the most meaningful celebrations are the ones where you slow down and actually care about the details. Whether you're decorating it for a graduation or any moment worth remembering, know that the effort you're putting in shows, and it tastes even better because of it.
Recipe Questions & Answers
- → What types of flowers are best for decorating the cake?
Choose edible flowers such as pansies, violets, or roses that are pesticide-free and safe for consumption.
- → How is the Swiss meringue buttercream prepared?
Egg whites and sugar are gently heated and whisked until stiff peaks form, then softened butter and vanilla are mixed in for a silky texture.
- → Can gold leaf be used safely on desserts?
Yes, edible gold leaf sheets are safe for decorating cakes and add a luxurious, shimmering appearance.
- → What are some tips for baking the vanilla sponge layers evenly?
Use parchment-lined pans, divide batter evenly, and bake until a toothpick comes out clean for consistent results.
- → Are there any variations suggested for the cake layers?
You can substitute half a cup of flour with cocoa powder for a chocolate twist on the sponge layers.