 Pin It
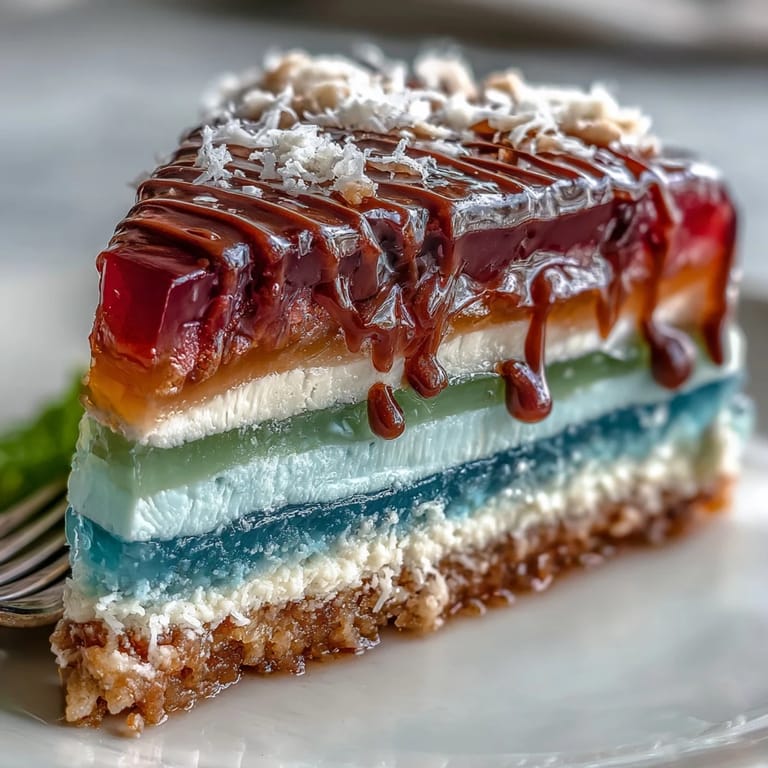
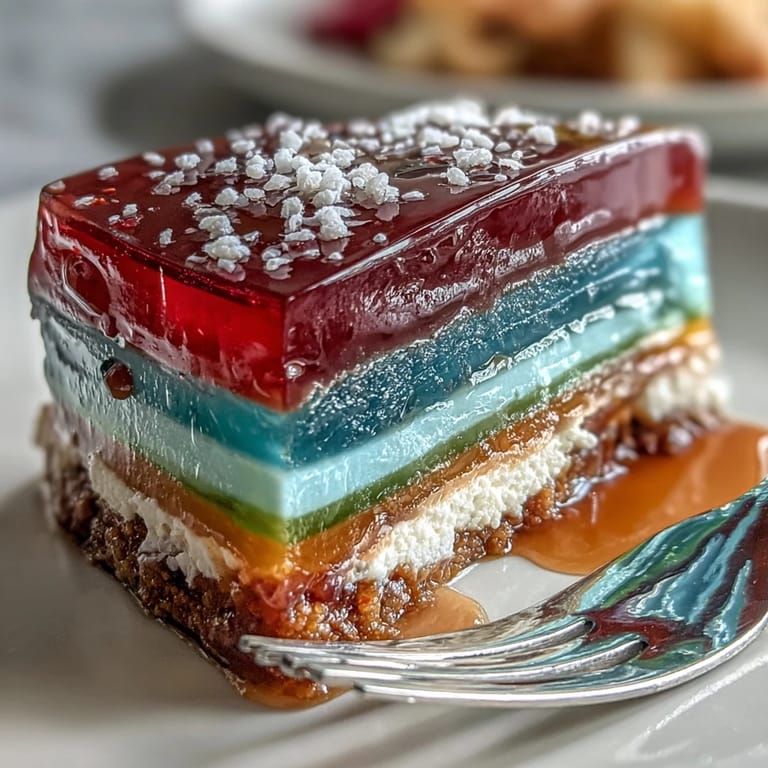
 When monsoon rains drum impatiently at my kitchen window, nothing brightens the mood quite like experimenting with color. The first time I made this Rainbow Jelly Cake, I was determined to impress some skeptical friends who insisted desserts couldn’t be light yet indulgent. Agar-agar was new territory for me, but that sense of culinary adventure pushed me out of my usual routine. There was something satisfying—almost meditative—about watching the intense colors swirl and settle into perfect layers. It’s one of those rare creations that’s just as much fun to construct as it is to devour.
I’ll never forget the squeals of delight from my nieces as they gazed at the finished cake, pressing tiny noses to the fridge door while it chilled. Each layer was an act of patience and anticipation—every color a chance for another giggle as we tried to name all the flavors the rainbow might promise. The way the cool coconut layer softly met the bright jellies turned an ordinary afternoon into an impromptu kitchen celebration.
Ingredients
- Agar-agar powder: This vegan gelling agent is key for the cake’s bouncy layers, and I’ve found it dissolves best with constant whisking while heating.
- Water: Using filtered water keeps the colors clear and the jelly layers free of any cloudiness.
- Granulated sugar: White sugar sweetens just enough without overpowering the delicate flavors—taste as you go for your perfect level.
- Food colorings: Liquid or gel works; natural tints from fruit or plant powders are fun for a subtler, earthy rainbow.
- Vanilla extract (optional): Adds a gentle fragrance—skip it if you prefer the clean taste of coconut and jelly.
- Coconut cream: I love the silkiness it brings as the finale layer, just make sure to use a well-shaken can for even texture.
- Salt: Just the tiniest pinch needed to round out the coconut’s sweetness.
Tired of Takeout? 🥡
Get 10 meals you can make faster than delivery arrives. Seriously.
One email. No spam. Unsubscribe anytime.
Instructions
- Mix the First Jelly Batch:
- Whisk agar-agar powder with water in your saucepan, letting the grains dissolve fully before turning up the heat. As it comes to a simmer, you’ll see it thicken and turn almost glossy, which means it’s ready for sugar and a hit of vanilla.
- Color and Divide:
- Divide the mixture evenly among six bowls—don’t worry if a few droplets of color streak your countertop, it’s part of the fun. Add drops of red, orange, yellow, green, blue, and purple to each bowl, swirling with a spoon until each hue glows.
- Layer Up:
- Working swiftly, pour the red jelly into your chosen mold and tap it gently to smooth out bubbles. Once it just sets but still feels pliable to the fingertip, repeat with each color, layering one atop the other for that beautiful rainbow stack.
- Coconut Cream Time:
- While waiting for the last jelly stratum, combine coconut cream, water, and agar-agar in a clean saucepan, whisking gently over a low flame until everything is creamy and smooth—add sugar and salt before it comes to a bubble.
- Final Pour:
- Pour the warm coconut mixture with a steady hand over the rainbow layers—if you listen closely, you might hear a gentle sigh as it spreads into place.
- Cool and Unmold:
- Let the cake rest until it cools to room temperature, then slide it into the fridge for at least an hour. Run a thin spatula along the edges before the wonderful moment of revealing it on a plate.
- Cut and Serve:
- Slice through the shimmering layers, marveling at your edible palette, and serve cold to appreciative smiles.
 Pin It
  Pin It
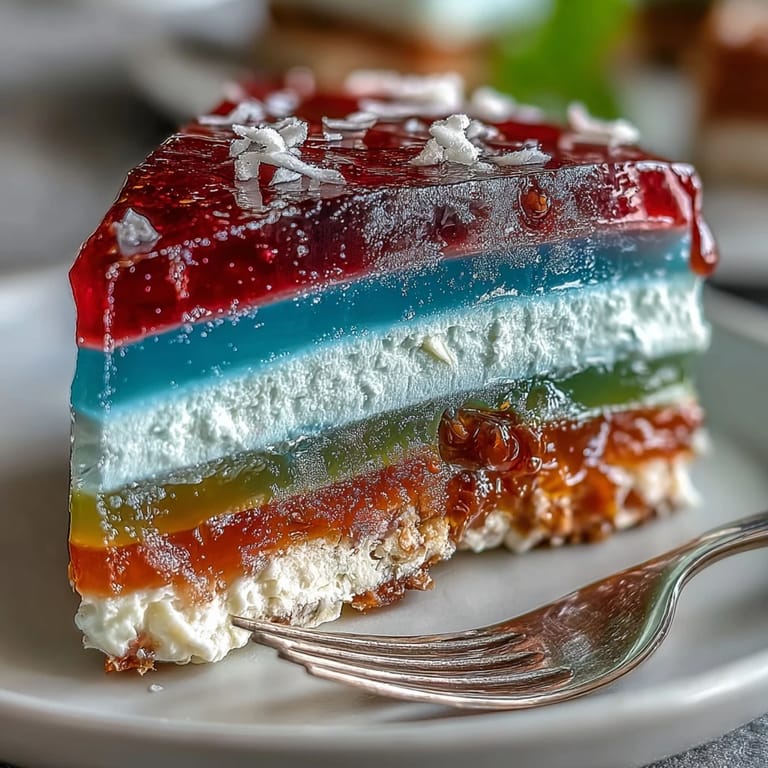
 One summer picnic, this cake vanished before most people even made it off the lawn with their plates—it was the main topic of every conversation and even got my family’s notorious dessert skeptic to ask for seconds. Suddenly, it was more than just a treat: it became the centerpiece, a memory, and bragging rights all in one.
Choosing Your Flavors and Tints
I’ve tinkered with floral extracts, swapping vanilla for pandan or even a splash of rose water for extra character—one batch took on a dreamy green tea vibe with matcha instead of food dye. Just remember, subtlety wins, as too much flavor can overpower those beautiful coconut and jelly notes.
The Right Molds Matter
If you want crisp, photogenic layers, use a heat-resistant mold and avoid overfilling each one. I once tried with a decorative bundt—gorgeous, but unmolding was tense and the layers jostled a little, so for stress-free results stick to smooth-sided pans or glassware.
Serving and Keeping It Fresh
Chill time makes all the difference: overnight sets bring out a lovely firmness and allow the colors to really pop. Store it covered so the coconut doesn’t absorb fridge odors, and slice with a damp knife for picture-perfect edges.
- If pressed for time, place the mold in an ice bath to speed up setting.
- Leftovers double as lovely lunchbox surprises the next day.
- Let each slice warm up for a few minutes before serving for the best texture.
 Pin It
  Pin It
 May your next gathering be a little brighter with this cheerful, jewel-toned cake—because sometimes, dessert really can steal the show.
Recipe Questions & Answers
- → How long does each agar-agar layer need to set?
Allow each layer to cool for about 5–10 minutes until it is just set but still tacky; this helps the next layer adhere without mixing. Thicker layers may require a few extra minutes.
- → Can I substitute agar-agar with gelatin?
Agar-agar sets firmer and is plant-based, while gelatin yields a softer, more elastic texture. Swap only if you adjust proportions and accept a different mouthfeel; gelatin is not vegan.
- → How do I prevent colors from bleeding between layers?
Let each layer cool until surface is no longer glossy but still slightly warm. Pour gently and avoid splashing. Chilling briefly between layers helps create clear, distinct bands.
- → What coconut cream should I use for the topping?
Choose a full-fat coconut cream for richness and a smooth set. If thinner, add less water when heating with agar-agar to maintain a firm, creamy layer.
- → How should I unmold and slice the cake cleanly?
Run a thin knife around the edge, warm the outer mold briefly if needed, then invert onto a plate. Use a hot, dry knife and wipe it between cuts for neat slices.
- → Any tips for natural coloring or flavor variations?
Use beet, turmeric, spirulina, butterfly pea, and carrot juices for natural hues. Infuse the agar base with pandan, lime zest, or rose water for subtle aromatic notes.