 Pin It
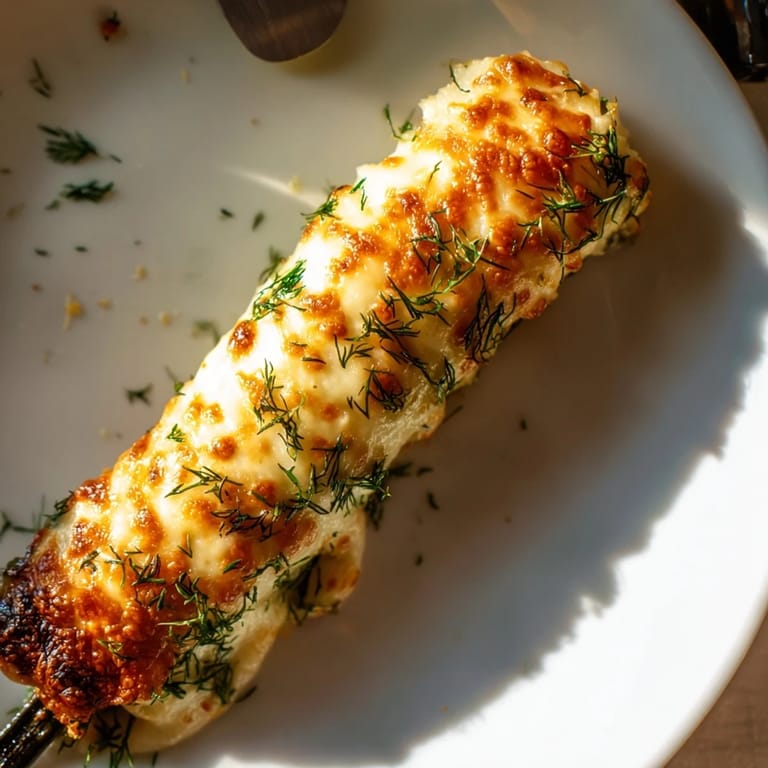
 I stumbled on this recipe during a late-night fridge raid when I had nothing but a jar of pickles and some cheese slices. The skillet was already out, and I figured I'd try melting the cheese directly onto the pickle just to see what would happen. That first bite—crunchy, salty, gooey—felt like I'd cracked some kind of secret code. I've been making them ever since, usually when I need something fast that feels a little indulgent.
I brought these to a friend's game night once, and everyone thought I'd spent way more effort than I actually had. Someone kept calling them fancy pickle fries, and I didn't correct them. Watching people try them for the first time—that little surprised smile—made me realize how something this simple can feel special. Now they're my go-to when I want to contribute something memorable without the stress.
Ingredients
- Mozzarella or cheddar cheese slices: Mozzarella melts smooth and mild, while cheddar brings a sharper bite and crisps up beautifully. I've learned to use slices that are thick enough to wrap but not so thick they won't melt evenly.
- Dill pickle spears: The brine-soaked tang is the whole point here, but moisture is the enemy of crispiness. Pat them dry like your life depends on it, or the cheese won't stick properly.
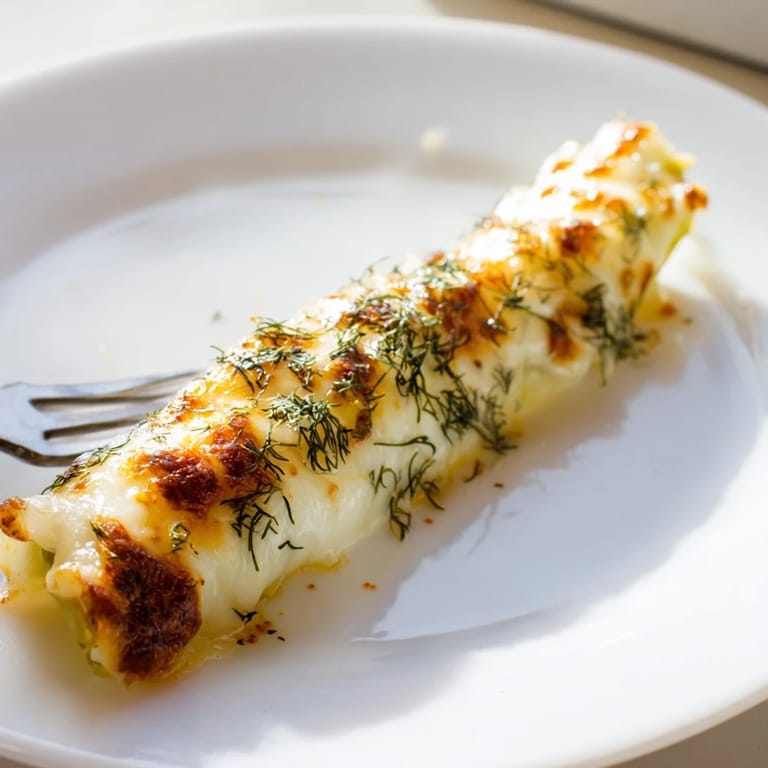
- Fresh dill: A sprinkle of this right when the rolls come off the heat makes the whole thing taste brighter and more intentional.
- Garlic powder and smoked paprika: These are optional, but they add warmth and a little smokiness that plays well with the sharpness of the pickle.
- Unsalted butter or neutral oil: Just a touch keeps the cheese from sticking to the pan and adds a hint of richness to the crust.
Tired of Takeout? 🥡
Get 10 meals you can make faster than delivery arrives. Seriously.
One email. No spam. Unsubscribe anytime.
Instructions
- Prep the pickles:
- Use paper towels to press and blot every bit of moisture off the pickle spears. If they're still wet, the cheese will slide right off and you'll end up with a greasy mess instead of a crispy roll.
- Heat the skillet:
- Set a nonstick skillet over medium heat and let it warm up for a minute or two. You want it hot enough to melt the cheese quickly, but not so hot that it burns before you can roll it.
- Melt the cheese:
- Lay one slice of cheese flat in the pan and watch it bubble and spread. Wait until the edges start to turn golden and lacy—that's when you know it's ready to wrap.
- Roll it up:
- Place a pickle spear on one edge of the melted cheese and use a spatula to gently fold and roll the cheese around it, forming a tight cylinder. Work quickly while the cheese is still pliable.
- Remove and repeat:
- Lift the finished roll onto a plate and start the next one. The rhythm gets easier after the first couple, and you'll find your own speed.
- Season and serve:
- While the rolls are still warm, hit them with a sprinkle of fresh dill, garlic powder, or smoked paprika if you like. Serve them right away while they're hot and the cheese is still a little gooey inside.
 Pin It
 There was one afternoon when my nephew wandered into the kitchen and watched me make a batch of these. He didn't say much, just stood there eating three in a row, then asked if we could make them again tomorrow. That quiet moment—no phones, no noise, just the sizzle of cheese and the smell of pickles—felt like the kind of memory that sticks around longer than you'd expect.
Choosing Your Cheese
Mozzarella is forgiving and melts into a smooth, stretchy wrap that's easy to handle. Cheddar gets crispier and has more flavor, but it can be a little trickier to roll if you let it cool too much. I've also tried pepper jack for a spicy kick and smoked gouda for something richer—both were excellent. The key is using real cheese slices, not the processed kind that won't crisp up the same way.
Serving Suggestions
These are best eaten hot, straight from the skillet, but they also hold up for a few minutes if you're plating a batch for guests. I like to serve them with a little dish of spicy mustard or ranch on the side for dipping. You can also slice them into rounds for a fancier presentation, though I usually just pile them on a plate and let people grab them with their hands. If you want to make them heartier, tuck a thin slice of ham or turkey inside before rolling—it turns them into a more substantial snack without much extra work.
Storage and Reheating
Honestly, these are meant to be eaten right away, but if you have leftovers, store them in an airtight container in the fridge for up to two days. To reheat, pop them in a dry skillet over medium heat for a minute or two on each side until the cheese crisps up again—don't use the microwave or they'll turn rubbery. Here are a few quick tips to keep in mind:
- Make sure the pickles are completely dry before you start, or the texture will suffer.
- Work in small batches so the skillet stays at the right temperature and each roll gets crispy.
- Experiment with different cheeses and spices to find your favorite combination.
 Pin It
 These little rolls have a way of turning ordinary moments into something worth remembering, and they never fail to make people smile. I hope they become one of those recipes you reach for when you want something quick, satisfying, and just a little bit unexpected.
Recipe Questions & Answers
- → How to prevent cheese from sticking to the skillet?
Use a nonstick skillet and medium heat to let the cheese melt gently. Adding a small amount of butter or oil can also help prevent sticking.
- → What cheese types work best for these rolls?
Mozzarella and cheddar melt well for a stretchy texture. Pepper jack or smoked gouda add extra flavor if preferred.
- → Should pickles be dry before cooking?
Yes, patted dry pickles reduce moisture, helping the cheese crisp up nicely and keeping the rolls from becoming soggy.
- → Can these rolls be made ahead?
They are best served immediately after pan-frying to enjoy the crispy texture, but can be kept warm briefly if needed.
- → What seasonings complement the cheese and pickle combination?
Fresh dill, garlic powder, and smoked paprika add aromatic and smoky notes that enhance the overall taste.