 Pin It
 I remember the moment I discovered that food could be art. It was a summer afternoon when my grandmother pulled out a wooden cutting board and began arranging thin squares of roast beef and Swiss cheese in an alternating pattern—what she called her "checkerboard trick." I watched as this humble appetizer transformed into something so visually striking that guests at her garden party couldn't help but admire it before eating. That memory stayed with me, and now whenever I make Checkerboard Picnic Bites, I'm transported back to that sunny kitchen, learning that sometimes the simplest ideas create the most memorable moments.
The first time I served these at a summer picnic, I arranged them on my grandmother's old platter just like she taught me. As I set them down on the checkered tablecloth, a friend laughed and said the pattern matched perfectly. What struck me most wasn't the laughter—it was watching people carefully pick up each square, admiring the craftsmanship before tasting it. That's when I realized this little appetizer had become more than just food; it was a small piece of art that connected generations and brought joy to a simple gathering.
Ingredients
- Smoked turkey breast: 8 slices, cut into 1-inch squares. The smokiness adds a subtle depth that contrasts beautifully with the sharp cheeses. Slice it yourself from a deli counter if you can—the thickness and quality make a real difference in how the squares hold together.
- Roast beef: 8 slices, cut into 1-inch squares. Choose a quality deli roast beef with good color variation; this creates better visual contrast and richer flavor than the pre-packaged versions.
- Swiss cheese: 8 slices, cut into 1-inch squares. The mild, slightly nutty flavor and pale color make it the perfect light contrast to the darker meats. It's forgiving when pressed together too.
- Sharp cheddar cheese: 8 slices, cut into 1-inch squares. This is where you bring bold flavor. The sharpness cuts through the richness of the meats and adds a sunny yellow that pops against the darker squares.
- Fresh chives: Finely chopped for garnish. A small handful is all you need—they add a whisper of onion flavor and a delicate green that finishes the presentation beautifully.
- Cracked black pepper: A light sprinkle. Don't use pre-ground; crack it fresh just before serving so the oils are still alive and the flavor hasn't faded.
Tired of Takeout? 🥡
Get 10 meals you can make faster than delivery arrives. Seriously.
One email. No spam. Unsubscribe anytime.
Instructions
- Set your stage:
- Arrange a piece of parchment paper or a serving board in front of you. This is your canvas. If you're planning to transport these, parchment paper gives you the best grip and prevents sticking. If you're serving immediately, use your prettiest board—this appetizer deserves a good foundation.
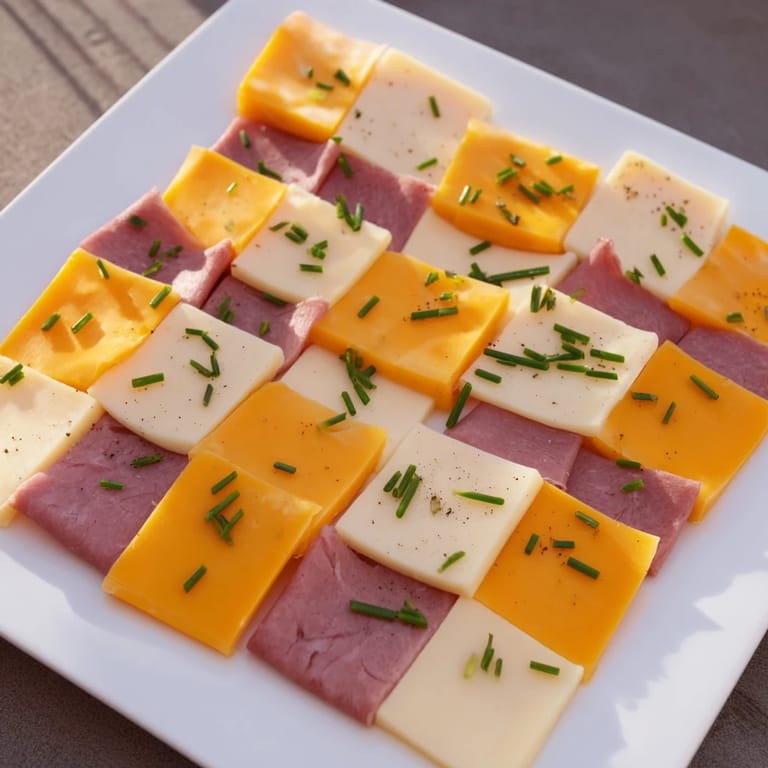
- Create the checkerboard:
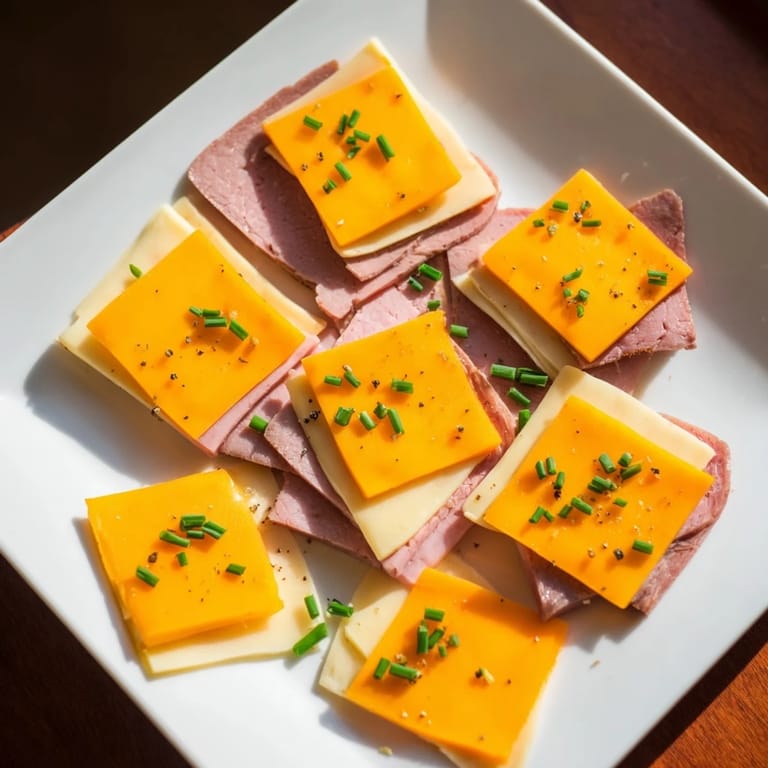
- Imagine a 4x4 grid in your mind. Start with smoked turkey in the top left corner. Next to it, place a square of sharp cheddar. Continue alternating turkey and cheddar across that first row. On the second row, begin with sharp cheddar, then alternate with turkey. For the third and fourth rows, replace turkey with roast beef and cheddar with Swiss cheese. This creates strong visual contrast—dark meat, light cheese, dark meat, light cheese—in every direction. Work methodically and take your time. The pattern is what makes people stop and notice.
- Make them hold together:
- Once all 16 squares are arranged, gently press adjacent squares together. You'll feel them slightly stick to one another, especially if the cheese is cool. If you're worried about them separating during transport, place a tiny dab of honey or mild mustard under each square before arranging them. It acts like an edible glue and adds a whisper of flavor that complements everything perfectly.
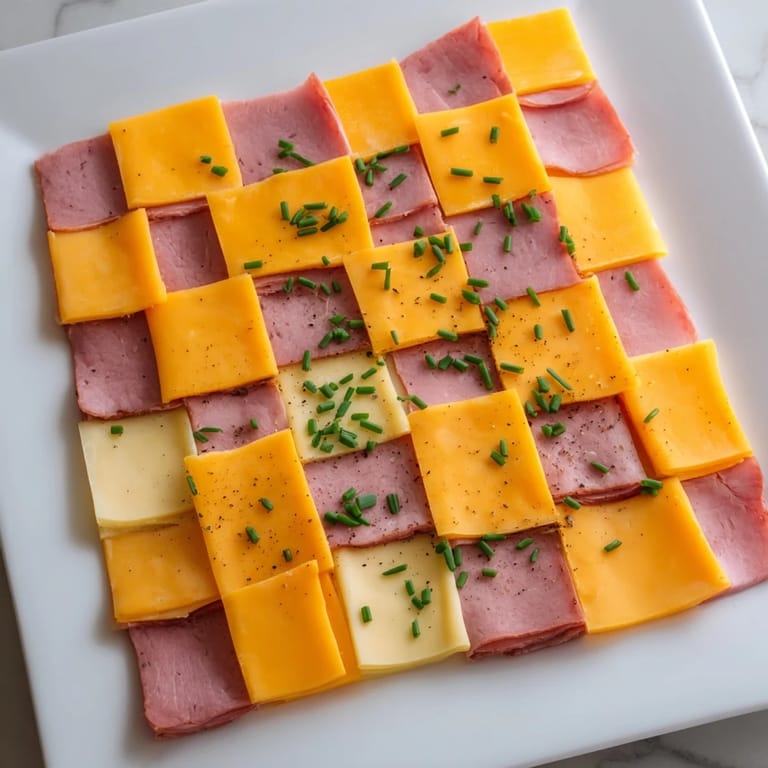
- Finish with purpose:
- Sprinkle the finely chopped chives across the entire checkerboard. They'll catch the light and add color. Follow with a light dusting of freshly cracked black pepper. Don't overdo it—you want people to taste the meats and cheeses first, with the pepper as a gentle accent.
- Chill and serve:
- Cover loosely with plastic wrap and refrigerate until serving time. The cool cheese firms up slightly and the flavors meld together in the most wonderful way. Serve them chilled or at room temperature, depending on your preference. Either way, they're best enjoyed within a few hours of assembly when the textures are still distinct.
 Pin It
 Years later, I served these at my daughter's first grown-up dinner party. She'd invited her colleagues over, and I offered to bring an appetizer. When I unwrapped this checkerboard on her kitchen counter, she gasped. "Mom, did you make this?" The pride in her voice told me that this wasn't just about food anymore. It had become something she wanted to recreate and share with people she cared about. That moment, more than any compliment, told me I'd passed down something real.
The Art of Assembly
There's something meditative about arranging these squares. It's repetitive in the best way—the kind of task that lets your mind wander while your hands do the work. I like to set up a small production line: cutting board on the left with all my squares sorted by type, the serving board in the middle, and a clean towel to the right to wipe my fingers between placements. This simple setup transforms what could feel chaotic into something almost zen. By the time you've placed all 16 squares, you've created something beautiful without it ever feeling rushed.
Why This Works for Every Occasion
What makes Checkerboard Picnic Bites so versatile is their humble honesty. They don't pretend to be fancy—they're straightforward, unpretentious, and utterly charming. Serve them at a casual picnic and they feel right at home. Bring them to a cocktail party and they elevate the spread without demanding attention. I've learned that the most successful appetizers are the ones that fit naturally into any gathering, and these squares do exactly that. They're substantial enough to satisfy hunger but elegant enough for refined company.
Customization and Creativity
Once you understand the basic principle—alternating contrasting flavors and colors—you can begin playing. I've experimented with prosciutto and creamy mozzarella, which tastes like Italy in every bite. I've tried salami with pale Havarti for a different kind of depth. One summer, I made a vegetarian version using roasted beet slices and cucumber for a garden party, and no one missed the meat. The joy of this recipe is that it teaches you to think about balance and contrast, skills that extend far beyond this one appetizer. Trust your instincts about flavor pairings and visual appeal, and you'll discover combinations that feel personal to you.
- For a smaller gathering, make a 2x2 grid using just 4 squares total—perfect for intimate dinners
- Try combining different meats and cheeses based on what's available at your local deli; sometimes the best discoveries happen by accident
- If you're serving vegetarians, prepare a small separate checkerboard with vegetables and cheeses so everyone feels included
 Pin It
 Every time I make these, I remember that food is about more than just taste—it's about the moments we create and share. These simple squares have a way of bringing that truth into focus.
Recipe Questions & Answers
- → How do I assemble the checkerboard pattern?
Cut smoked turkey, roast beef, Swiss, and cheddar into 1-inch squares. Arrange them alternating in a 4x4 grid to create the classic checkerboard effect.
- → Can these bites be made ahead of time?
Yes, you can prepare and assemble the bites in advance. Keep them chilled and covered until serving to maintain freshness.
- → What garnishes complement these bites?
Freshly chopped chives and cracked black pepper add a subtle flavor boost and visual appeal without overpowering the meats and cheeses.
- → Are there vegetarian alternatives for this dish?
Absolutely. Substitute the meats with contrasting vegetables like roasted beets and cucumber slices to preserve the vibrant checkerboard look.
- → What beverages pair well with these bites?
Try sparkling wine, lemonade, or iced tea to complement the savory and creamy elements within the checkerboard bites.